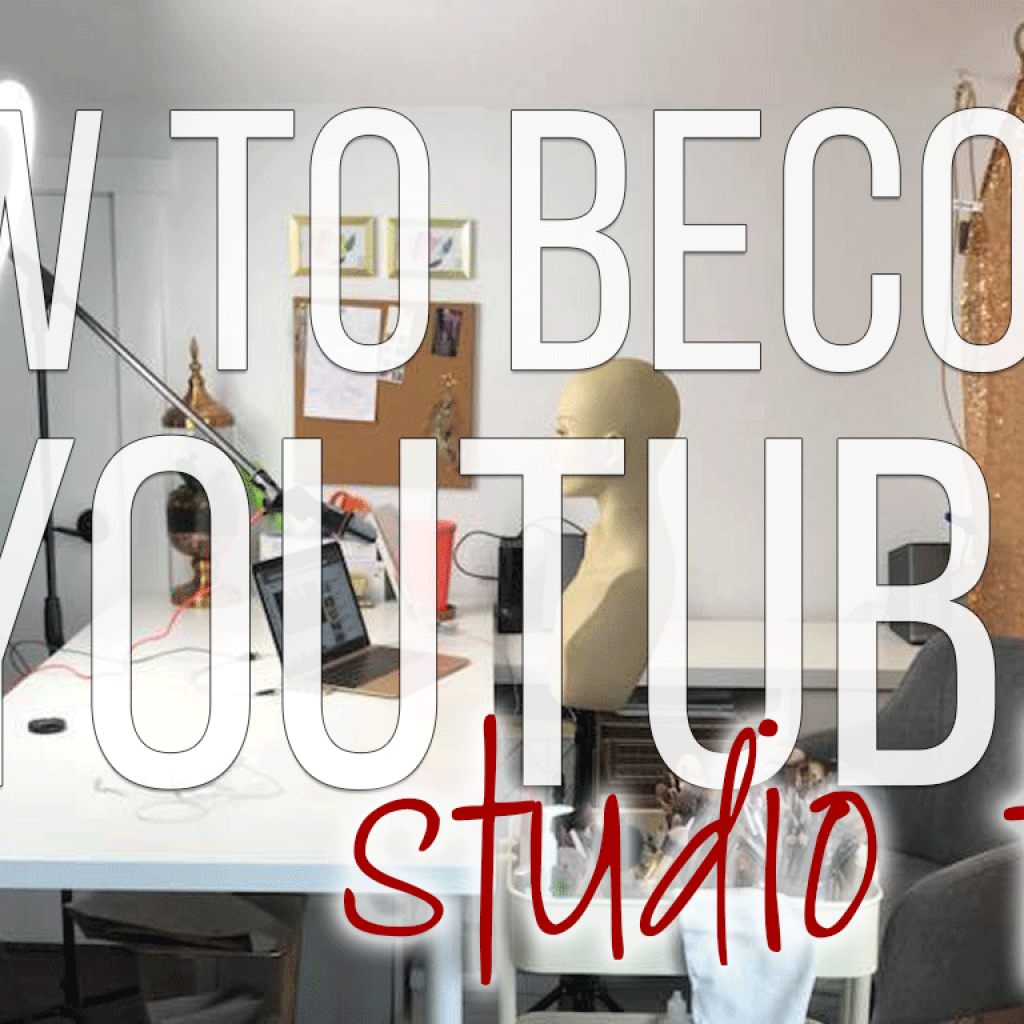
Come with me on a tour of my modest little YouTube studio! This is Chapter One of a 6 part series on How to Make YouTube Videos. I’ve learned a lot of stuff the hard way and I’m going to try to make it a little easier for you, so if you have any specific questions, please put them in the comments below!
My Studio Setup Video Tour
Tips to Maximize Your Space
Go Vertical
When working with a small studio, it’s best to use your space as efficiently as possible. I got a lot of inspiration for my space by researching tiny living on YouTube, surprisingly enough. The biggest thing people who live in tiny homes talk about is using your vertical space, not just your horizontal space. I utilize my vertical space by using the wall space above decoration, the ceiling, and stacking my equipment as tightly as possible when I’m filming. Surprisingly, you’ll find that you don’t need much space to have a big impact on your quality of video if you Tetris the hell out of your setup.

…dang it.
Make it Multitask
When you go to purchase items, really think about what you’re purchasing and how many uses you can think of for it. You won’t really be able to multitask things like lighting and sound, but I promise you if you get a good tripod you can make it work for filming a traditional setup, an overhead shot, holding your lighting, and holding your reflector. Sometimes, purchasing a multitasking item is pricier, but it ends up balancing out if you consider having to buy several different things to achieve the same multiuse.
Use the Walls
I knew I would be working with a small space to film my beauty videos and I wanted my desk to multitask as a regular working desk and a vanity for filming. That put my space at a premium and meant I couldn’t really spare room to have a backdrop stand behind my desk unless I positioned it in a really weird way in my office. I ended up getting creative with a backdrop bar solution that is both pretty when not in use and functional for hanging semi-heavy backdrops.
Get one GREAT Lighting Option
Yes, it’s great to have a hair light, two side lights, and a ring light to film your beauty tutorials, but, odds are, you aren’t making money from this yet. Don’t spend crazy money on stuff you really don’t need at this point. To be honest, I wish I hadn’t purchased some of the items I did because if I had been more patient, I could have spent my money more efficiently on a better product that could do more for me. You need experience to know what lighting will work best for you. Wait for your experience level to catch up with your gadget fanaticism.

Natural lighting is universally flattering.
Use Natural Lighting When Available
If you have a space with big windows there is very little need for using lighting. The only downside to this is that you have to pick a time of day when the sun is not level with your windows and you need to work within the weather patterns or you’ll get video where the lighting is all over the place. The upside to using natural lighting is that it’s free, it’s universally flattering, and it requires zero setup.
Sound is More Important than Video
Yep, you read that right. In fact, if you don’t believe me, you can look at this study. This is not to say you should try to perfect both sound and picture, but that when it comes to really fussing over something, you’d be better off making sure your audio is on point. I invested in a mid-range but slightly expensive (to me) lav microphone (small mic that you clip to your clothing) with great reviews on Amazon, and a decent voice recorder. If that doesn’t work for you, you can always buy a cheap condenser mic and run it directly into your camera, just make sure you get a boom mic stand to go with it so you have it at the right position. I actually use both of these options because you never know when something is going to fail, so I like my video to have ok sound quality just in case something happens with my mic. Always be prepared.
My Affordable Filming Equipment
Canon Rebel T5i http://amzn.to/2fDrxcl
Canon 18-55mm Lense http://amzn.to/2x0Higi
Canon 50mm Lense http://amzn.to/2x0XiPd
Sony A5100 http://amzn.to/2wYxPuJ
Apple iPhone 7 http://amzn.to/2wZIplc
Newer Ring Light http://amzn.to/2x0Bybm
Newer Ring Light Diffuser http://amzn.to/2fCNA32
Newer Soft Box Lights http://amzn.to/2x0vPNR
Newer Backdrop Kit http://amzn.to/2x0DGe9
Newer Umbrella Light Kit http://amzn.to/2xK687P
Newer Reflectors http://amzn.to/2x086lK
Canon Extra Batteries & Grip http://amzn.to/2yb5amf
Sony Extra Batteries http://amzn.to/2yduyI0
Professional Selfie Stick & Tripod http://amzn.to/2ybGGth
Gorilla-Style Tripod http://amzn.to/2wZuEDc
Tripod http://amzn.to/2xJUvgQ
Mic Boom Stand http://amzn.to/2xFtVUH
Aspen Mics HQ-M Mono Lavalier Microphone – http://amzn.to/2CZMKYE
Tascam Digital Recorder http://amzn.to/2fvrDz3
Alright, y’all, that’s it! Let me know what you want me to explain in the next chapters of the “How to Make YouTube Videos” series in the comments below or on the YouTube page.